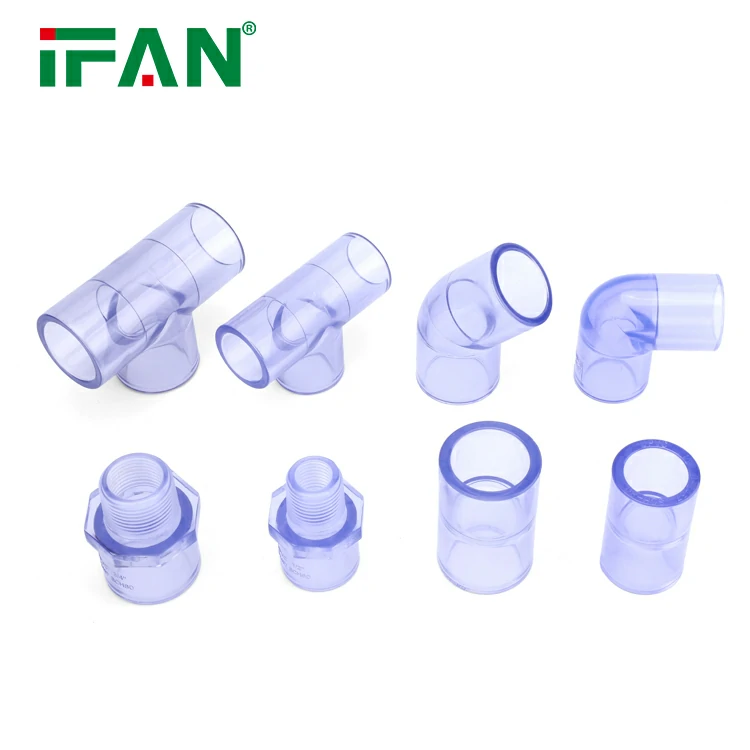


Using these fittings correctly is essential. It ensures a leak-proof and functional system. Transparent PVC Pipe Fittings offer unique benefits. Their primary advantage is visual flow monitoring. Proper installation maximizes their utility.
Planning and Design Phase
Start with a detailed system diagram. Plan the entire layout on paper first. Identify all required fitting types and sizes. Consider the need for visual inspection points. Position fittings for easy viewing access.
Selecting the Right Fittings
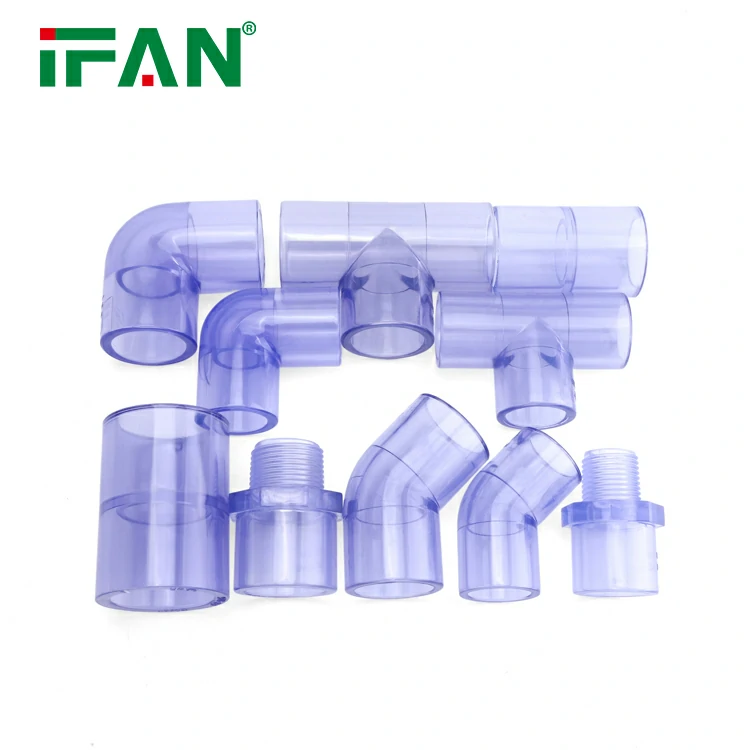
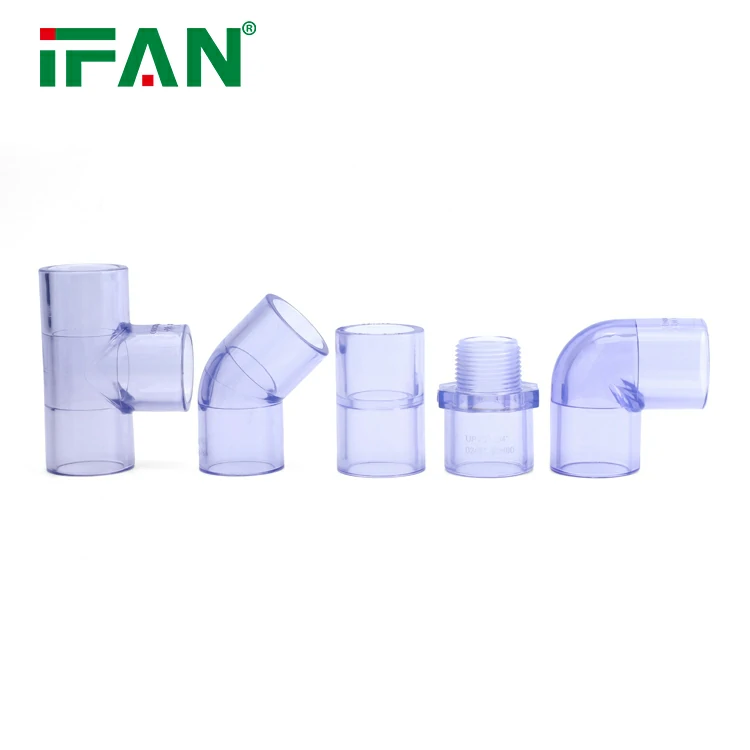
Choose fittings rated for your application. Verify pressure and temperature ratings. Ensure they are compatible with your fluid. Select the correct type: elbows, tees, couplings. Using the wrong fitting can cause failure.
Gathering Necessary Tools and Materials
You will need specific tools. A PVC cutter ensures clean cuts. Have deburring tools ready. Use primer and cement for clear PVC. Have clean rags and measuring tape available.
Cutting the Pipe to Length
Measure and mark the pipe accurately. Use a sharp, fine-toothed saw. A PVC cutter gives a cleaner cut. Ensure the cut is perfectly square. A bad cut prevents a proper seal.
Preparing the Pipe Ends
Deburr the inside and outside edges. Remove all plastic shreds and dust. Clean the end with a clean, dry rag. Wipe away any grease or moisture. A clean surface is critical for bonding.
Dry Fitting the Components
Assemble the pipes and fittings without cement. Check for proper fit and alignment. Ensure the pipe seats fully in the fitting. Mark the orientation for final assembly. Disassemble after dry fitting.
Applying Primer and Cement
Apply a clear primer if recommended. Use cement specifically for clear PVC. Apply a thin, even coat to the pipe end. Apply another coat inside the fitting socket. Work quickly as the cement dries fast.
Assembling the Joint
Push the pipe into the fitting fully. Give it a quarter turn to spread the cement. Hold it firmly for 15-30 seconds. Wipe away any excess cement immediately. Align the fitting according to your marks.
Curing and Setting Time
Allow the joint to cure undisturbed. Follow the cement manufacturer’s instructions. Typical set time is 15 minutes. Full cure strength takes 24 hours. Do not pressure test before full curing.
System Inspection and Testing
Visually inspect all joints for completeness. Check for a small, continuous cement bead. Conduct a low-pressure air test first. Then perform a full pressure test with water. Look for any leaks at the joints.
Operational Use and Monitoring
Once tested, the system is ready. Use the transparency to monitor flow. Look for bubbles, debris, or discoloration. This visual feedback is a major advantage. It helps in early problem detection.
Maintenance and Cleaning
Clean the fittings periodically. Use a soft cloth and mild soap. Avoid abrasive cleaners that can scratch. Scratches will reduce clarity over time. Inspect for cracks or cloudiness regularly.
Conclusion: Harnessing the Benefits
Transparent PVC Pipe Fittings are versatile components. Correct installation is key to their performance. They provide invaluable visual system feedback. Their proper use enhances system control and safety. They are ideal for applications where visibility matters.