
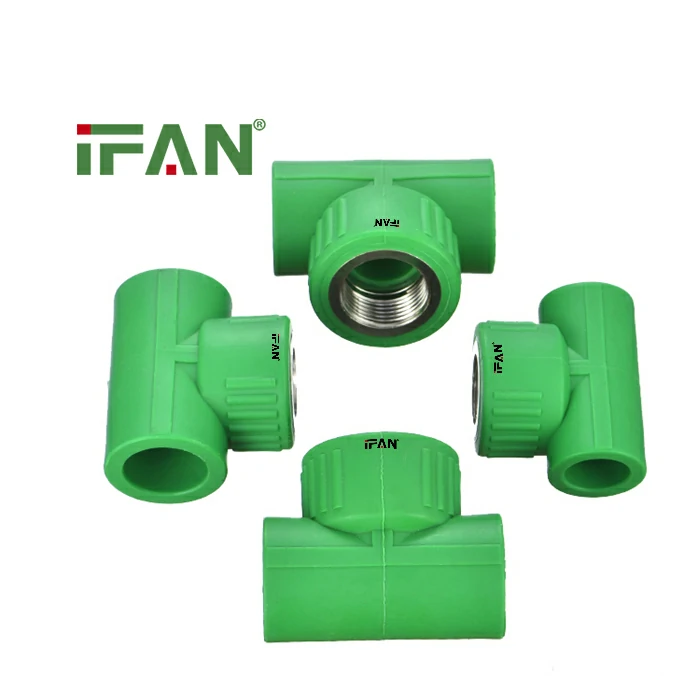
Understanding the Connection Method
PPR fittings systems use heat fusion exclusively. This is a welding process for plastics. It creates a permanent, monolithic joint. No glue, thread, or mechanical seals are used. The pipe and fitting become one material. This ensures a perfect, leak-proof connection.
Core Principle: Socket Fusion Welding
The process is called socket fusion. The pipe end and fitting socket are heated. A specialized tool provides this heat. The plastic surfaces melt uniformly. They are then joined together under pressure. The melted materials mix and fuse as they cool.
Step 1: Cutting and Preparing the Pipe
Begin with a clean, square cut. Use a dedicated plastic pipe cutter. Ensure the cut is perfectly perpendicular. Remove all burrs from inside and outside. Use a deburring tool for this. A chamfering tool adds a slight bevel to the outer edge.
Step 2: Cleaning and Marking
Clean the pipe end thoroughly. Use isopropyl alcohol and a lint-free cloth. Also clean the inside of the fitting socket. Remove all dust, grease, and moisture. Mark the insertion depth on the pipe. This line ensures the pipe is fully seated.
Step 3: Setting Up the Fusion Welder
Select the correct heating die. The die must match the pipe diameter. Attach it to the welding machine. Set the machine to the correct temperature. For PPR, this is typically 260-270°C (500-518°F). Allow the plate to fully heat up.
Step 4: Simultaneous Heating
Place the pipe end onto one side of the hot die. Push the fitting socket onto the other side. Apply gentle, straight pressure. Do not twist or rotate the parts. Hold them for the specified heating time. This time depends on the pipe diameter.
Step 5: Removing and Joining
After heating, quickly remove both parts. Pull them straight off the heating plate. Avoid any lateral movement. Immediately insert the pipe into the fitting socket. Push until the depth mark is reached. A small bead of melted plastic will form around the joint.
Step 6: Holding and Cooling
Hold the joint perfectly still. Maintain light pressure during this phase. Do not adjust or twist the connection. Allow the joint to cool naturally. The plastic solidifies into a single piece. This cooling time is critical for joint strength.
Avoiding Common Mistakes
Do not overheat or underheat the parts. Do not re-heat a part after removal. Never force the pipe past the depth mark. Ensure alignment is correct before cooling. Avoid working in very cold environments. Follow the manufacturer’s timing chart precisely.
Quality Control and Inspection
Inspect the finished joint visually. A uniform bead should surround the socket. This bead confirms proper fusion. The bead should be even and continuous. Check that the pipe is aligned correctly. There should be no gaps or distortions.
Tools Required for the Process
You need specific tools. A fusion welding machine is essential. You also need pipe cutters and deburring tools. Cleaning supplies are mandatory. Personal protective equipment is crucial for safety. Professional-grade tools ensure reliable results.
Advantages of the Fusion Method
The joint is extremely strong and reliable. It is resistant to leaks and corrosion. The internal bore remains smooth. This prevents flow restriction. The process is clean and chemical-free. It creates a maintenance-free, permanent connection for the system’s lifetime.