
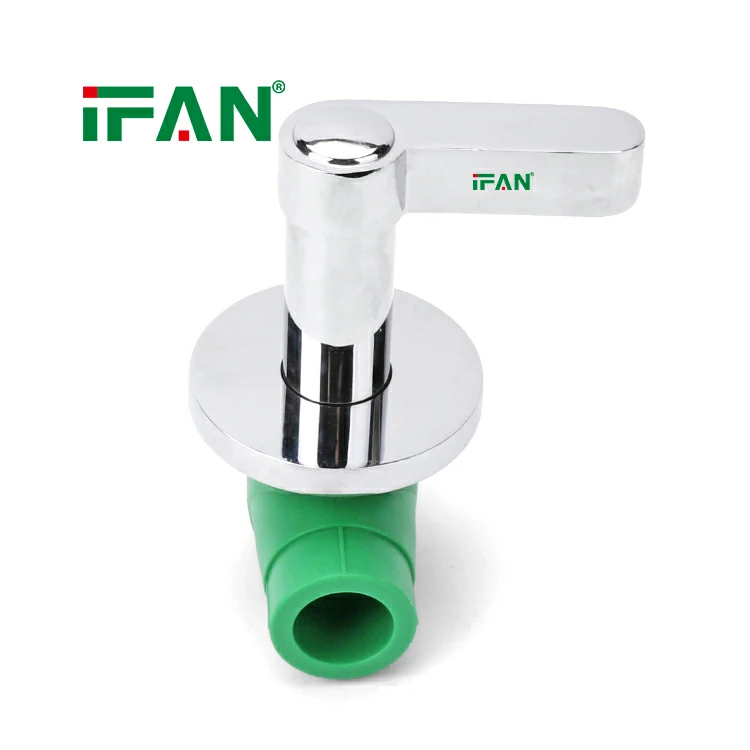
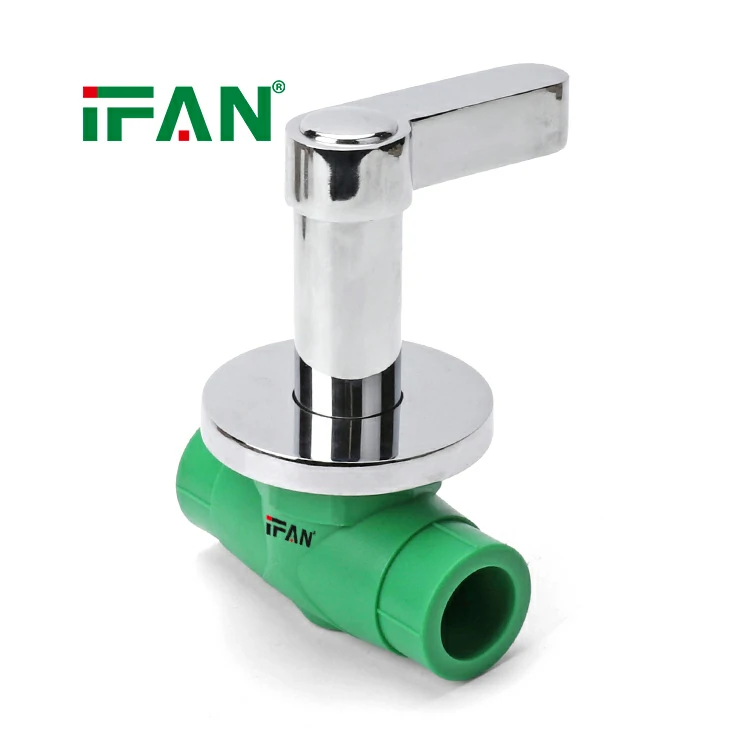
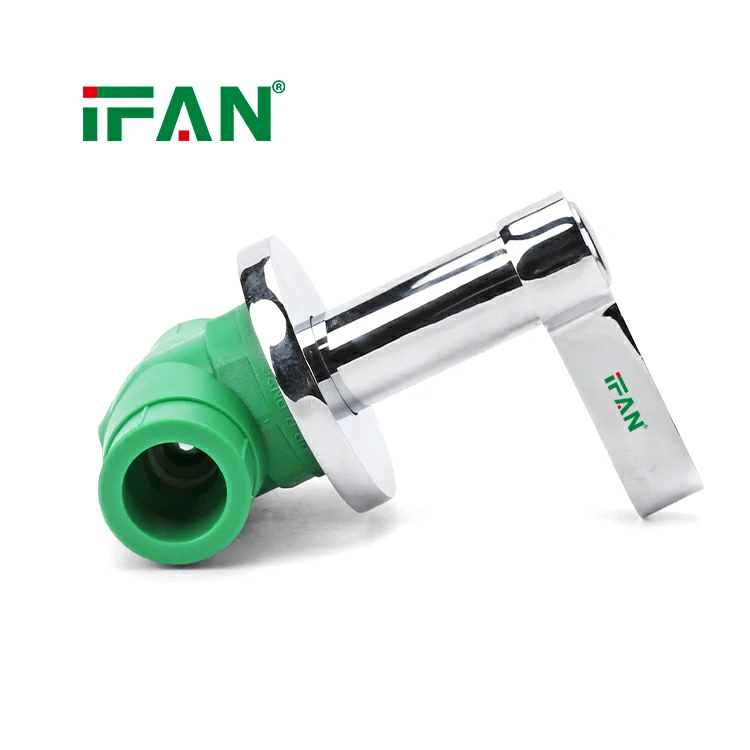
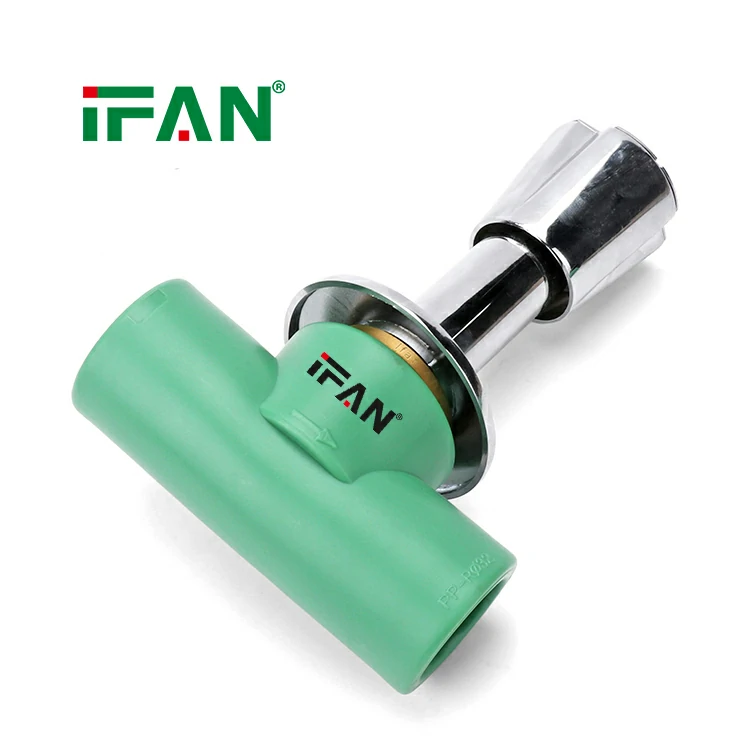
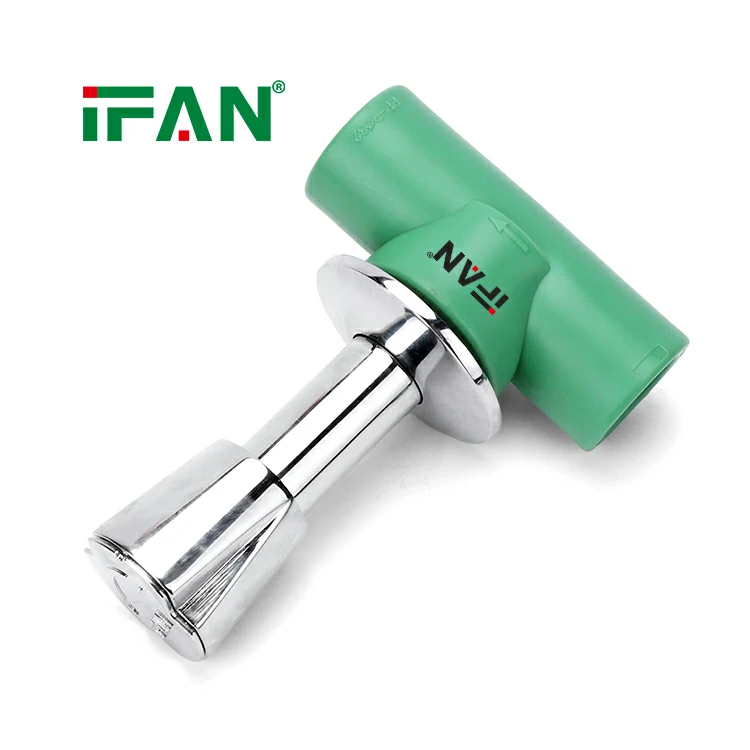
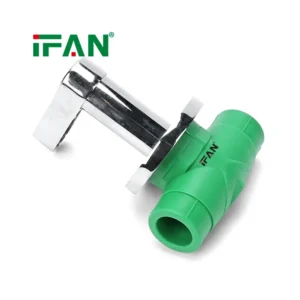
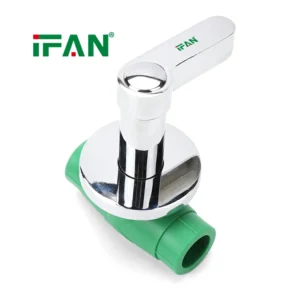
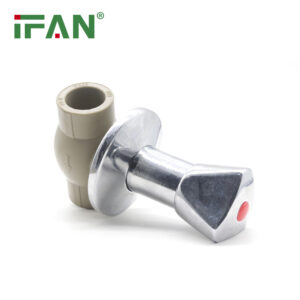
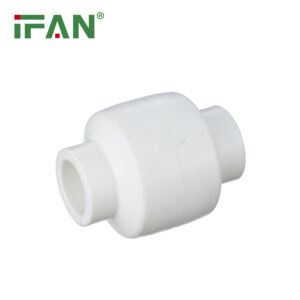
IFAN Preferential Prices PPR Concealed Valve
Category : Click Download
Whatsapp : +86 19884503412
Wechat : 19884503412
Description
Planning and Preparation
Proper planning is essential for a concealed valve. Determine the exact location on the wall. Consider the user’s height and reach. Mark the center line for the valve body. Check for studs, wires, or pipes in the wall. A PPR Concealed Valve must be securely mounted.
Gathering the Necessary Tools
You will need specific tools for this job. A PPR fusion welding machine is essential. Pipe cutters and deburring tools are required. A level, tape measure, and marker are needed. Have a hammer drill and masonry bits if tiling later. Safety glasses and gloves are recommended.
Step 1: Rough-in the Supply Lines
Run the PPR hot and cold supply lines to the location. Use a manifold or tee fittings to branch off. Ensure the pipes are straight and level. Support them securely within the wall cavity. Leave enough length to reach the valve inlets. Cap the ends temporarily.
Step 2: Install the Mounting Bracket
Most PPR Concealed Valve units come with a mounting bracket. Hold the bracket against the stud or wall surface. Use a level to ensure it is perfectly plumb. Mark the screw holes. Drill pilot holes and secure the bracket. This provides a stable base for the valve.
Step 3: Prepare the Valve Connections
The concealed valve has PPR fusion sockets. They are typically on the bottom or rear. Clean the sockets with isopropyl alcohol. Measure and cut the supply pipes to exact length. Deburr and clean the pipe ends thoroughly. Dry-fit the pipes to confirm alignment.
Step 4: Fusion Weld the Valve Inlets
Heat the pipe ends and valve sockets simultaneously. Use the correct heating die size. Remove and join them quickly and straight. Hold the joint firmly until it cools. Repeat for both hot and cold inlets. Ensure the valve body is correctly oriented.
Step 5: Secure the Valve to the Bracket
Once the inlets are welded, mount the valve body. Slide it onto the pre-installed bracket. Use the provided screws or clips. Ensure the valve is level and plumb. The body must not move or rotate. A secure PPR Concealed Valve prevents future leaks.
Step 6: Connect the Outlet (Mixed Water)
The outlet of the concealed valve is a single PPR socket. It carries the mixed water to the spout or shower head. Measure and cut the outlet pipe. Weld it to the valve outlet. Run this pipe to the final outlet location. Support it within the wall cavity.
Step 7: Pressure Test Before Closing
Do not close the wall without testing. Install a temporary cap on the outlet. Pressurize the system with water or air. Check all fusion joints carefully. Look for any leaks or pressure drop. A PPR Concealed Valve must be tested thoroughly. Repair any issues now.
Step 8: Install the Wall Plate and Handle
The valve comes with a trim plate and handle. A plaster guard protects the valve during wall finishing. After tiling, remove the plaster guard. Install the trim plate against the finished wall. Attach the handle according to the manufacturer’s instructions. Ensure smooth operation.
Step 9: Final Connection to Fixtures
Connect the outlet pipe to the shower arm or tub spout. Use appropriate adapters if needed. For shower systems, install the shower head arm. For tubs, connect the spout. Tighten all threaded connections with Teflon tape. Do not overtighten.
Step 10: Final System Test
Turn on the water supply fully. Operate the PPR Concealed Valve through its full range. Check for leaks at the trim plate and handle. Verify correct hot and cold mixing. Ensure the temperature is stable. Test the shower head or spout flow.
Common Mistakes to Avoid
Do not bury a valve without testing first. Do not overtighten the handle screws. Ensure the wall plate is properly sealed with silicone. Avoid using metal fittings directly on the PPR outlets. Remember that a PPR Concealed Valve requires access for future maintenance.
Conclusion on Installation
Installing a PPR Concealed Valve requires careful planning. Rough-in the supply lines and mount the bracket securely. Weld the inlets and outlet precisely. Always pressure test before closing the wall. Finish with the trim plate and handle. Proper installation provides years of reliable, hidden service.
相关产品
 PPR Valves
IFAN Hot Products PPR Concealed Valves
- PPR Valves
IFAN Proper Price PPR Concealed Valves
- PPR Fitting
Gray PPR Chrome Valve
- PPR Fitting
PPR Check Valve


HAVE ANY QUERIES? SEND TO CONTACTOANTSMACHINE.COM
ONTACT US