
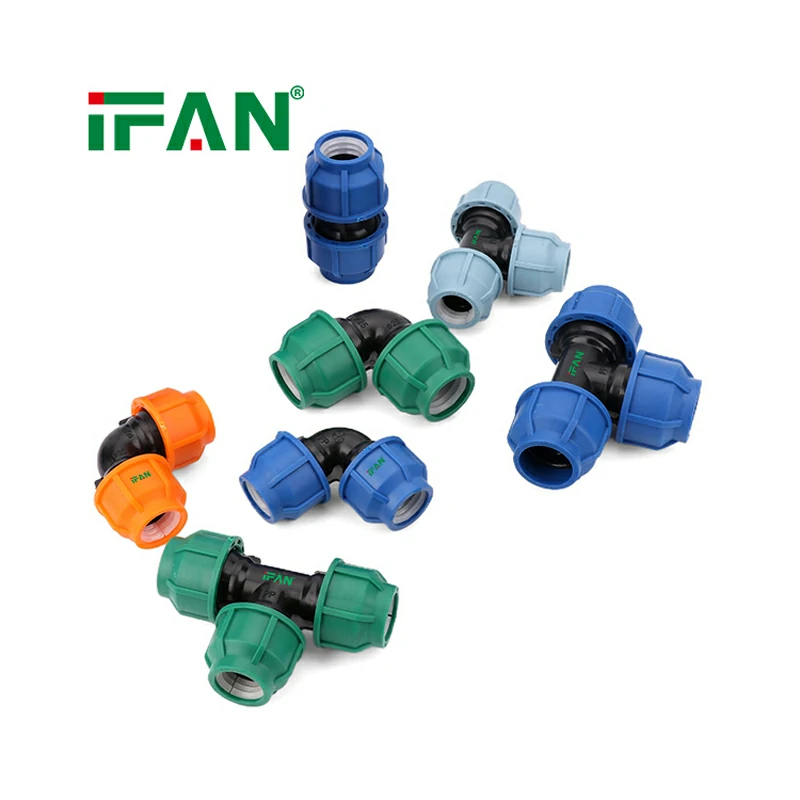
Understanding the Compression Mechanism
PP compression fittings create a seal mechanically. A nut tightens a ring onto the pipe. This ring compresses against the fitting body. The design is inherently tool-friendly. No heat, glue, or special machinery is required. This makes installation accessible to many users.
Basic Hand Tools Required
The primary tools are simple wrenches. Two adjustable wrenches work perfectly. One holds the fitting body steady. The other tightens the compression nut. A pipe cutter ensures clean cuts. A deburring tool cleans the pipe end. These are standard plumbing tools.
The Pipe Cutter
A sharp pipe cutter is essential. It creates a clean, square cut. A hacksaw can also work. However, it may leave burrs. A ratcheting plastic pipe cutter is ideal. It provides a smooth, perpendicular cut. This ensures proper sealing.
Deburring and Chamfering Tools
After cutting, the pipe end must be prepared. A deburring tool removes internal burrs. A chamfering tool creates a slight bevel. This bevel helps insert the pipe. It prevents damage to the sealing ring. These are inexpensive and widely available.
The Two-Wrench Technique
Using two wrenches is a best practice. One wrench holds the fitting body. The other turns the compression nut. This prevents stress on the fitting. It also stops the pipe from twisting. The technique is simple but important for reliability.
Measuring and Marking Tools
A measuring tape is necessary for accurate cuts. A marker helps indicate insertion depth. Some installers use a depth gauge. This ensures the pipe reaches the stop. Proper depth is critical for a good seal.
No Specialized Tooling Required
Unlike other connection systems, no special tools are needed. There is no crimping tool. There is no expansion tool. There is no welding machine. This is a major advantage of compression fittings. Installation is straightforward and accessible.
Comparison to Other Joining Methods
Soldering requires a torch and flux. Crimping requires a calibrated tool. Fusion welding needs a specialized machine. PP compression fittings only need wrenches. This simplicity reduces the tool investment. It also makes them ideal for DIY use.
Tool Maintenance for Reliable Results
Basic tools still need proper care. Keep wrenches clean and dry. Ensure cutter blades remain sharp. Deburring tools should be free of debris. Well-maintained tools produce better results. They also make the work easier and faster.
Installation Steps Using Basic Tools
First, cut the pipe square with the cutter. Deburr the cut end thoroughly. Slide the nut and ring onto the pipe. Insert the pipe fully into the fitting. Hand-tighten the nut, then use wrenches. One to two turns past hand-tight is typical.
Avoiding Common Tool Mistakes
Overtightening is the most common error. It can crack the fitting or pipe. Using only one wrench is another mistake. This can twist the fitting body. Failing to deburr damages the seal. Proper tool use prevents these issues.
Professional vs. DIY Tool Requirements
Professionals may use higher-quality tools. They may use torque wrenches for precision. DIY users can succeed with basic tools. The core requirement remains the same. No specialized equipment is mandatory. This makes the system accessible to all.
Conclusion on Tool Requirements
PP compression fittings do not require special tools. Standard wrenches and pipe cutters suffice. Deburring tools are helpful but not complex. This simplicity is a key advantage. It allows for fast, reliable installations. Both professionals and DIY users can work effectively with basic tools.