
Understanding UPVC Pipe Fittings
UPVC stands for unplasticized polyvinyl chloride, a strong and rigid plastic material.
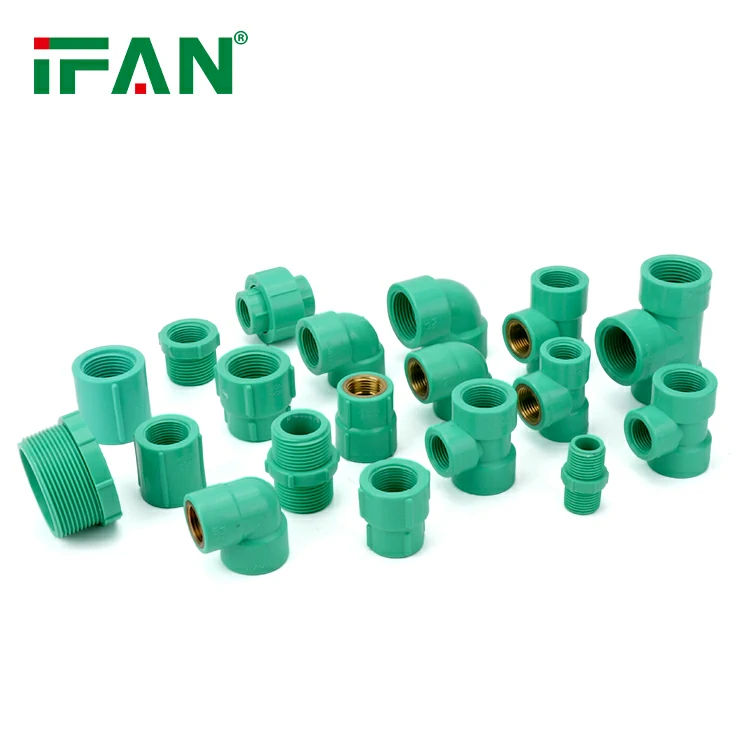
UPVC pipe fittings are used for water supply, drainage, and chemical transport systems.
They resist corrosion, are lightweight, and are easy to install.
These fittings come in various shapes like elbows, tees, couplers, and adapters.
Each fitting serves a unique purpose in piping layouts.
Before installation, understand your system’s pressure, diameter, and flow requirements.
UPVC pipe fittings are typically joined using solvent cement or threaded connections.
Proper preparation is essential to ensure leak-proof and durable joints.
Tools and Materials Required
To fit UPVC pipe fittings, gather all necessary tools in advance.
You will need a pipe cutter, measuring tape, marker, file, and cleaning cloth.
Also, have UPVC solvent cement and a matching primer (if recommended).
Ensure the fittings and pipes are compatible in size and standard.
Always work in a well-ventilated area to avoid inhaling fumes from the cement.
Use gloves and safety glasses for added protection.
Keep rags and cleaner nearby for wiping excess cement.
Being organized reduces errors and ensures a smoother installation process.
Measuring and Cutting the Pipe
Accurate measurement is crucial when working with UPVC pipe fittings.
Use a measuring tape to mark the cut length clearly.
Cut the pipe using a pipe cutter or fine-tooth saw.
Make sure the cut is straight and smooth.
Uneven edges can weaken the joint and cause leaks.
After cutting, remove burrs and rough edges with a file.
Wipe the pipe ends clean with a dry cloth.
Clean surfaces ensure strong bonding during assembly.
Dry Fitting for Layout Accuracy
Before applying cement, perform a dry fit of the system.
Insert the pipe into the UPVC pipe fittings without glue.
This helps confirm correct alignment and pipe length.
Make adjustments before the glue is applied permanently.
Ensure that fittings point in the correct direction.
This step prevents costly mistakes during final installation.
Mark alignment lines with a pencil if necessary.
Once satisfied, disassemble and prepare for final bonding.
Applying Primer and Solvent Cement
Some installations require UPVC primer before cement application.
Primer cleans and softens the pipe surface for better bonding.
Apply primer to both pipe and fitting if instructed.
Next, apply solvent cement evenly around the pipe’s outside.
Also apply cement inside the UPVC pipe fitting socket.
Work quickly, as the solvent sets within seconds.
Avoid using excessive cement, which can drip or clog.
Proper bonding forms a watertight and pressure-resistant joint.
Joining the Fitting and Pipe
Immediately after applying cement, insert the pipe into the fitting.
Push with a slight twisting motion for an even spread.
Hold the joint together firmly for 30 seconds.
This prevents the pipe from backing out during setting.
Wipe off any excess cement using a clean cloth.
Avoid disturbing the joint for at least 15 minutes.
This ensures the solvent has begun to cure properly.
Full curing may take up to 24 hours.
Testing and Troubleshooting
After installation, inspect all UPVC pipe fittings carefully.
Check for proper alignment and visible cement coverage.
Once cured, perform a pressure test if required.
This identifies any weak joints or possible leaks.
Use water or air as the test medium.
Follow local plumbing codes for testing procedures.
If a leak is found, cut out the faulty section.
Replace it with new fittings and repeat the joining process.
Final Safety and Maintenance Tips
UPVC pipe fittings require minimal maintenance after installation.
However, periodic inspections can prevent long-term damage.
Keep the pipe system away from direct sunlight if possible.
UV rays can weaken UPVC material over time.
Avoid mechanical stress or vibration near joints.
Use pipe clips to secure the system properly.
Never use open flames or heat to bend UPVC.
With proper care, UPVC pipe fittings offer years of reliable service.