
Understanding Stainless Steel Characteristics
Stainless steel is a hard, durable metal. It has a tough oxide layer. This layer provides corrosion resistance. However, it also makes the material prone to galling. Galling is a form of wear. It occurs when threads seize during tightening.
Gathering Essential Tools and Materials
You need specific tools for the job. Use high-quality adjustable wrenches. A pipe cutter or hacksaw is required. Have thread sealant or PTFE tape ready. A wire brush cleans old threads. Safety glasses and gloves are essential.
Preparing the Pipe and Fitting
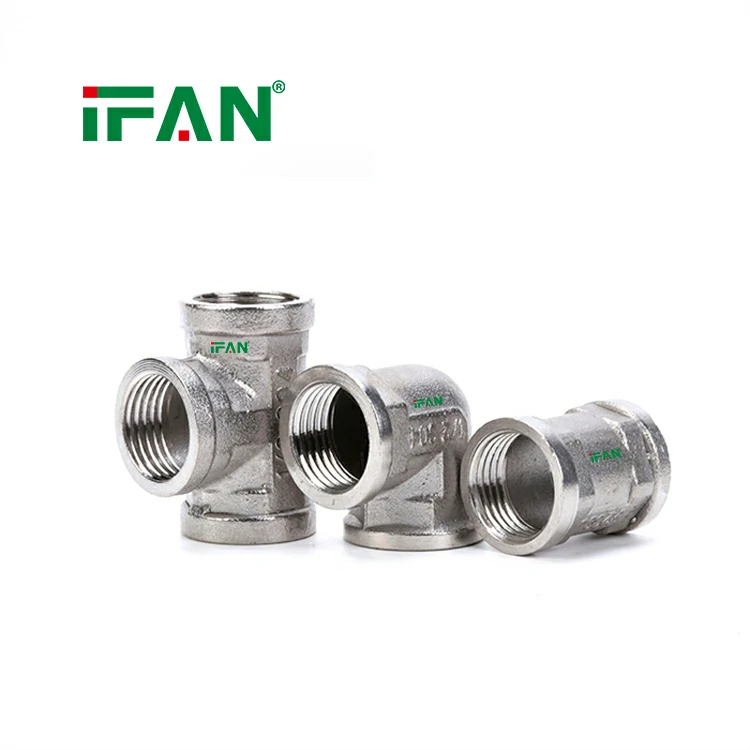
Inspect all stainless steel fittings before use. Check for any visible defects or damage. Clean the threads with a wire brush. Remove any dirt, oil, or debris. The pipe end must be cut square. Deburr both inside and outside edges.
Applying Thread Sealant Correctly
Thread sealant is mandatory for threaded connections. Use PTFE tape or pipe thread compound. For tape, wrap clockwise around male threads. Start at the second thread from the end. Use three to five wraps for a good seal. For compound, apply an even layer to all threads.
The Galling Prevention Technique
Galling is a major risk with stainless steel. Use a lubricant specifically for stainless threads. Apply it sparingly to the male threads. Never use force if resistance increases. Back off and try again. Slow, steady tightening prevents seizing.
Hand-Tightening the Connection
Begin threading the fitting by hand. Turn clockwise until it stops. This ensures proper thread engagement. It prevents cross-threading damage. Stop when the fitting feels snug. Do not use a wrench at this stage.
Final Tightening with Wrenches
Use two wrenches for final tightening. One wrench holds the fitting body steady. The other turns the pipe or nut. This prevents stress on the stainless steel fittings. Tighten one to two turns past hand-tight. Feel for increasing resistance.
Avoiding Common Installation Mistakes
Do not overtighten stainless steel fittings. Excessive force causes galling and thread damage. Do not use pipe wrenches on finished surfaces. They leave marks and damage the passive layer. Do not mix different metals without isolation.
Supporting the Fitting and Pipes
Stainless steel fittings should not bear pipe weight. Install pipe supports near each fitting. This relieves mechanical stress. It prevents sagging and joint strain. Proper support ensures long-term reliability. It also protects threaded connections.
Dealing with Welded Connections
Some applications require welding. Use TIG welding for best results. Match filler metal to the base material. Clean the weld area thoroughly after welding. Passivation restores the corrosion-resistant layer. This is critical for sanitary applications.
Testing for Leaks After Installation
Slowly pressurize the system. Check all connections immediately. Look for any signs of water droplets. Feel around the joints with a dry finger. If a leak appears, tighten slightly. If it persists, disassemble and reapply sealant.
Conclusion on Proper Installation
Installing stainless steel fittings requires attention to detail. Use the correct tools and sealant. Prevent galling with proper technique. Use two wrenches and avoid overtightening. Support pipes adequately to relieve stress. Test thoroughly before system operation. Following these steps ensures leak-free, durable connections that last for decades.