
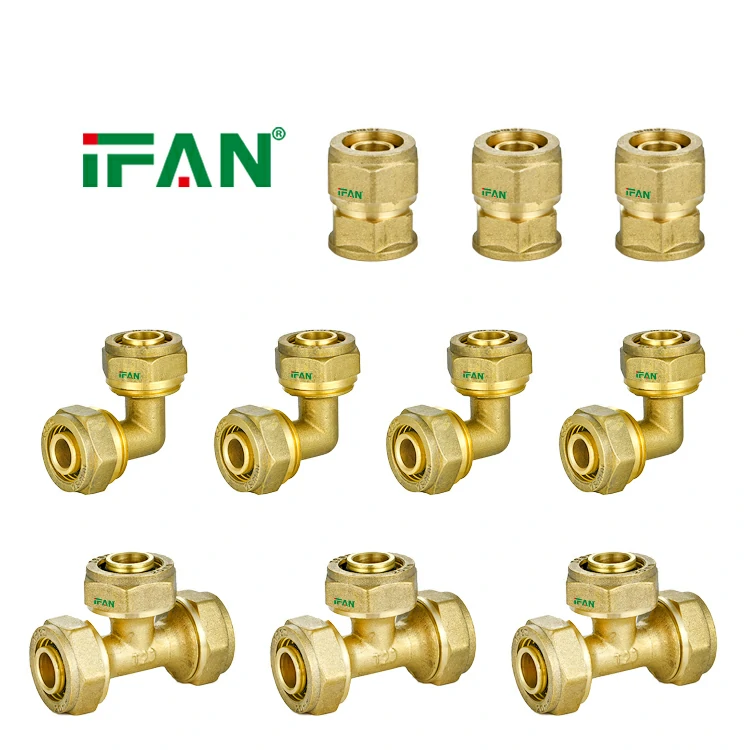
Understanding the Fitting Components
A PEX compression fitting has several parts. The main body contains the waterway. A compression ring (ferrule) slides onto the pipe. A compression nut threads onto the body. Some designs include a stiffener insert. This goes inside the PEX pipe.
Gathering Necessary Tools
You will need specific tools for installation. Two adjustable wrenches are essential. A sharp PEX cutter is required. A deburring tool helps prepare the pipe. Have Teflon tape if using threaded connections. Safety glasses protect your eyes.
Preparing the PEX Pipe
Cut the pipe end perfectly square. Use a dedicated PEX cutter for this. Remove any burrs from the cut edge. The pipe must be clean and smooth. Check for ovality or damage. A perfect pipe end is essential for sealing.
Installing the Stiffener (If Required)
Some PEX compression fittings need a stiffener. This insert supports the pipe internally. It prevents the pipe from collapsing. Insert it fully into the pipe end. Ensure it is seated flush. Not all designs require this step.
Sliding on the Nut and Ring
First, slide the compression nut onto the pipe. The threaded end should face the fitting. Then slide on the compression ring. The ring’s tapered end faces the nut. This orientation is critical for proper sealing.
Inserting the Pipe into the Fitting
Push the pipe fully into the fitting body. It must bottom out against the internal stop. The stiffener (if used) should contact the body. Ensure the pipe is straight and aligned. Mark the pipe for reference if desired.
Hand-Tightening the Compression Nut
Slide the nut up to the fitting threads. Begin threading it by hand. Turn clockwise until it stops. This ensures the threads engage correctly. It prevents cross-threading damage. The nut should turn smoothly.
Final Tightening with Wrenches
Use two wrenches for final tightening. One wrench holds the fitting body steady. The other turns the compression nut. Tighten according to manufacturer specifications. Typically, one to two turns past hand-tight. Feel for increasing resistance.
Avoiding Overtightening Damage
Do not overtighten PEX compression fittings. Excessive force can crack the fitting. It can also crush or deform the PEX pipe. This causes leaks rather than preventing them. Stop when the fitting is snug. The ring should grip but not distort the pipe.
Checking Alignment During Tightening
Ensure the pipe stays fully inserted. Watch for any rotation during tightening. The pipe should remain straight. Misalignment can cause uneven compression. This leads to leaks at the seal point. Adjust if necessary before final tightening.
Pressure Testing the Connection
After installation, test the system. Slowly apply water pressure. Check the connection for any leaks. A small weep may need slight additional tightening. If it leaks significantly, disassemble and inspect. The pipe or ring may be damaged.
Conclusion on Proper Installation
Installing PEX compression fittings requires precision. Clean cuts and correct orientation are vital. Use two wrenches and tighten properly. Avoid overtightening at all costs. Test every connection thoroughly. A correctly installed fitting provides a reliable, leak-free joint. It will serve for many years in your plumbing system.