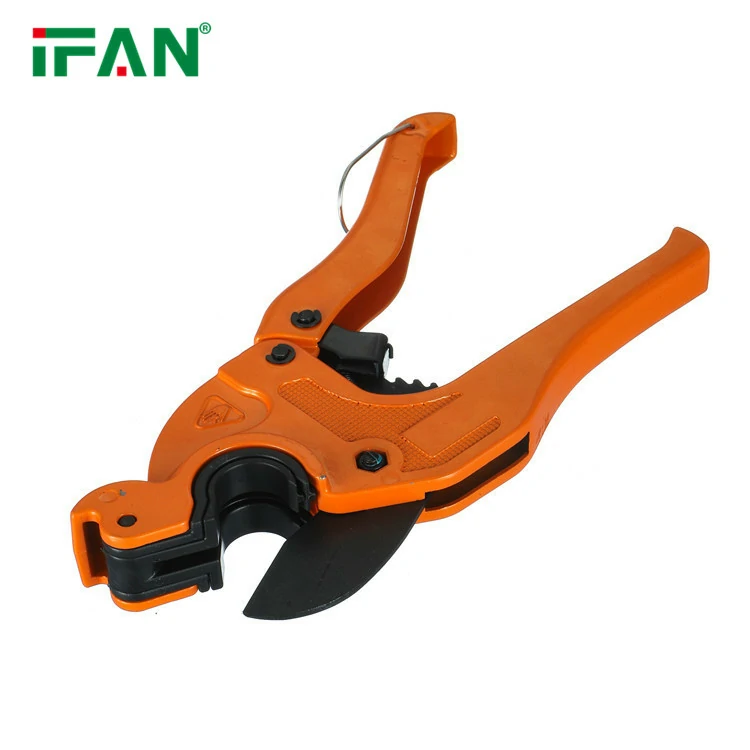
Using a pipe cutter effectively involves following a few essential steps to ensure a clean, precise, and safe cut. Here’s a step-by-step guide on how to use a tool properly:
1. Choose the Right Pipe Cutter for the Job
- Material Compatibility: Ensure the tool is suitable for the material you’re cutting (e.g., copper, PVC, steel). Some cutters are designed specifically for certain materials.
- Pipe Size: Make sure the cutter can handle the diameter of the pipe you’re working with. Pipe cutters are typically rated for specific pipe sizes.
- Type of Cutter: Choose between different types of cutters (e.g., rotary, ratchet, or chain pipe cutters) based on your needs and available space.
2. Prepare Your Work Area
- Clean the Pipe: Before cutting, make sure the pipe is clean and free from any dirt, grease, or debris, as this can interfere with the cutting process.
- Secure the Pipe: If possible, secure the pipe in a stable position (e.g., with a pipe clamp or vise) to prevent it from moving while you’re cutting.
3. Measure and Mark the Cut Line
- Measure: Use a tape measure or ruler to determine where you want to cut the pipe.
- Mark: Use a pencil or marker to make a clear, visible line where you want to cut. This helps guide the cutter for a straight and accurate cut.
4. Set the Pipe Cutter in Place
- Align the Cutter: Place the tool around the pipe, ensuring that the cutting wheel or blade is positioned just above your marked cut line.
- Adjust the Cutter: If the cutter has an adjustable mechanism, adjust it to fit snugly around the pipe without over-tightening at this stage.
5. Tighten the Cutter
- Apply Initial Pressure: Tighten the product (usually by turning a screw, knob, or ratchet handle) until the cutting wheel or blade lightly touches the pipe.
- Even Pressure: Apply even, steady pressure when tightening the cutter. This will help ensure a straight cut and avoid damaging the pipe.
- Check Alignment: Make sure the pipe is properly aligned with the cutting wheel or blade.
6. Start Cutting
- Rotate the Cutter: Slowly rotate the toolaround the pipe. If you’re using a rotary cutter, turn the handle or body of the cutter while keeping the pipe steady.
- Tighten Gradually: As you rotate the cutter, continue tightening it a little bit at a time (in small increments), allowing the cutting wheel to gradually score the pipe. Each rotation of the cutter deepens the cut.
7. Check Progress
- Inspect the Cut: As you tighten and rotate, keep checking the progress to ensure you’re cutting in a straight line and that the cutter is working smoothly.
- Avoid Over-tightening: Be careful not to tighten the cutter too much too quickly, as this could cause the pipe to distort or the cutter to slip.
8. Complete the Cut
- Final Turn: Continue rotating the cutter until the pipe is fully severed. The cutter should cut through the pipe completely after several turns.
- Deburr the Edges: After the pipe is cut, check for any burrs (rough edges). You may want to use a deburring tool or a file to smooth out any sharp edges, especially if you’re working with metal pipes, to avoid injury and ensure a good seal when joining pipes.
9. Clean Up
- Clear Debris: Clean the area around your cutting work to remove any leftover filings or debris, especially when working with metal pipes.
- Store the Cutter: After use, clean and store your tool properly to ensure it remains in good working condition for future use.
Tips for Effective Pipe Cutting:
- Consistent Pressure: Maintain steady pressure while tightening the cutter to avoid jagged cuts. Avoid forcing the tool, as it may cause the pipe to deform or the blade to dull prematurely.
- Avoid Distorting the Pipe: When using a tool on soft materials like copper, apply gentle, even pressure to avoid distorting or flattening the pipe.
- Use the Right Cutter for the Space: If you’re working in a confined space, a ratchet pipe cutter or a mini rotary cutter may be ideal since they allow for tighter access.
- Check Alignment: If you notice the cut starting to veer off, stop and readjust the cutter to ensure it’s properly aligned. This helps prevent uneven cuts that could affect pipe fittings.
Conclusion:
Using it effectively requires proper tool selection, correct alignment, and gradual tightening to ensure a clean, precise cut. Following these steps will help you achieve smooth, straight cuts while minimizing effort and avoiding mistakes. Whether you’re a professional plumber, mastering the technique of using a pipe cutter will improve the quality of your work.
View more:https://www.ifanfittings.com/


