Installing UPVC (Unplasticized Polyvinyl Chloride) pipe fittings correctly is essential to ensure a leak-free and durable piping system. Here’s a step-by-step guide to help you achieve a professional installation:
Tools and Materials Needed:
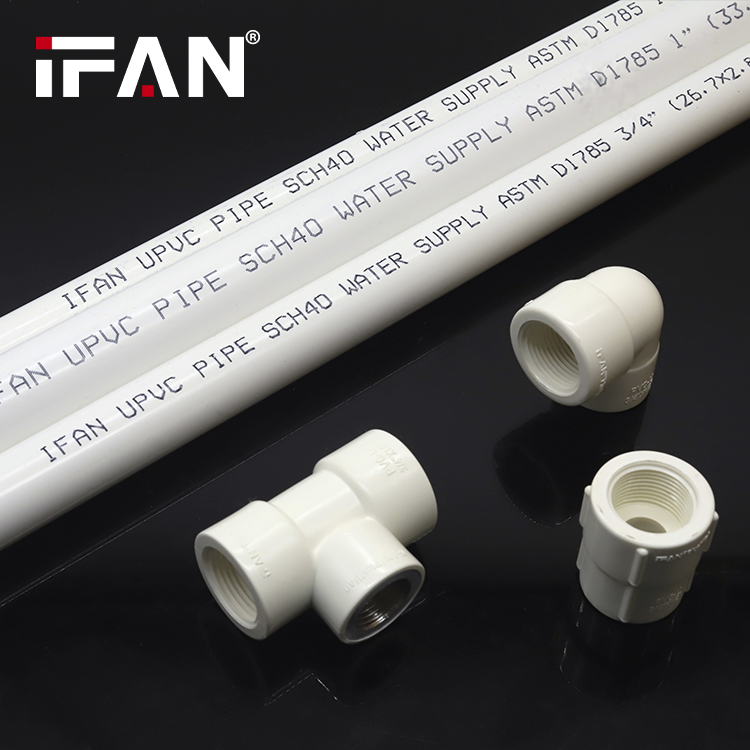
- UPVC pipes and fittings
- UPVC solvent cement (primer and adhesive)
- Pipe cutter or hacksaw
- Measuring tape
- Sandpaper or deburring tool
- Clean cloth or rag
- Brush (for applying solvent cement)
- Marker or pencil
Step-by-Step Installation Guide:
1. Plan and Measure:
- Plan the layout of your piping system and measure the required lengths of UPVC pipes.
- Mark the cutting points on the pipes using a marker or pencil.
2. Cut the Pipes:
- Use a pipe cutter or hacksaw to cut the pipes to the desired length.
- Ensure the cuts are straight and clean to achieve a proper fit.
3. Deburr and Clean:
- Use sandpaper or a deburring tool to remove any burrs or rough edges from the cut ends of the pipes.
- Clean the pipe ends and the inside of the fittings with a clean cloth to remove dust, dirt, and grease.
4. Dry Fit the Pipes and Fittings:
- Assemble the pipes and fittings without solvent cement to ensure they fit properly.
- Check for alignment and make any necessary adjustments.
5. Apply Primer (if required):
- Some UPVC systems require a primer to soften the surface for better adhesion.
- Apply the primer to the outside of the pipe end and the inside of the fitting using a brush. Allow it to dry for a few seconds.
6. Apply Solvent Cement:
- Apply a thin, even layer of UPVC solvent cement to the outside of the pipe end and the inside of the fitting.
- Use a brush to ensure full coverage, but avoid applying too much cement, as it can cause blockages or weaken the joint.
7. Join the Pipe and Fitting:
- Quickly insert the pipe into the fitting while twisting slightly to ensure even distribution of the solvent cement.
- Hold the joint firmly in place for 15-30 seconds to allow the cement to set.
8. Wipe Off Excess Cement:
- Use a clean cloth to wipe off any excess solvent cement from the joint.
- Avoid disturbing the joint while the cement cures.
9. Allow Proper Curing Time:
- Allow the joint to cure for the recommended time (usually 15-30 minutes) before handling.
- For full strength, wait 24 hours before pressurizing the system.
10. Test the System:
- Once all joints are cured, test the system for leaks by running water or air through the pipes.
- Check each joint carefully and repair any leaks if necessary.
Tips for a Successful Installation:
- Work in a Well-Ventilated Area: Solvent cement emits strong fumes, so ensure proper ventilation.
- Follow Manufacturer Instructions: Use the recommended primer and solvent cement for your specific UPVC pipes and fittings.
- Avoid Over-Tightening: If using threaded fittings, avoid over-tightening, as it can crack the UPVC material.
- Check Alignment: Ensure pipes and fittings are properly aligned before the solvent cement sets to avoid stress on the joints.
Common Mistakes to Avoid:
- Skipping the Cleaning Step: Dirt or grease can prevent proper bonding, leading to leaks.
- Using Too Much Cement: Excess cement can weaken the joint or block the pipe.
- Insufficient Curing Time: Rushing the curing process can result in weak joints.
- Improper Cutting: Uneven or jagged cuts can cause poor fitting and leaks.
Conclusion:
Proper installation of UPVC pipe fittings is crucial for a leak-free and long-lasting piping system. By following these steps and using the right tools and materials, you can ensure a secure and reliable connection. Always adhere to manufacturer guidelines and safety precautions for the best results.
View more:https://www.ifanfittings.com/