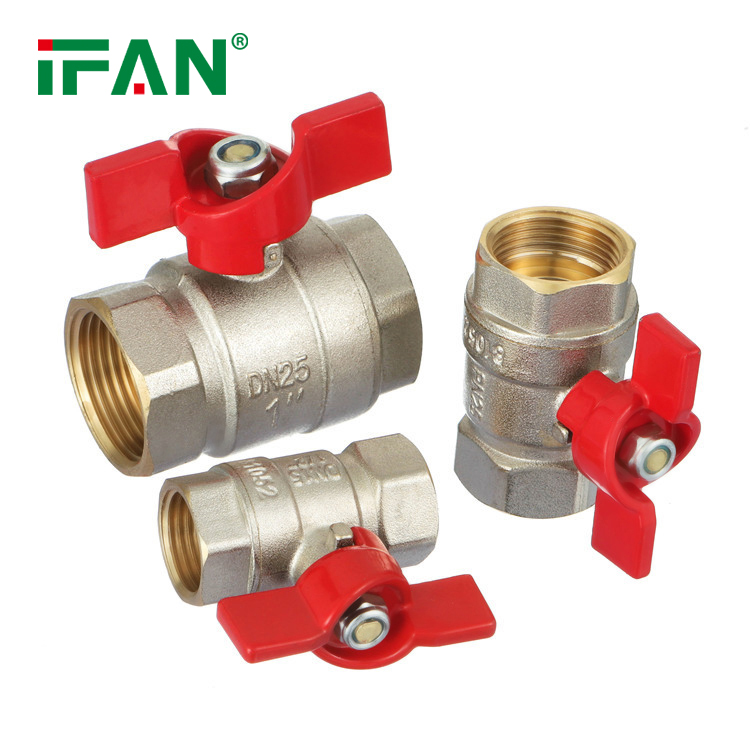
The tools that may be needed during the installation of the valve include:
Wrenches: Including active wrenches, open-ended wrenches, etc., used to tighten or loose the nuts and bolts at the connection between the valve and the pipeline.
Pipe wrenches: Can hold and rotate the pipeline more firmly for the installation and disassembly of the valve.
Screwdrivers: Different specifications of screwdrivers are used to disassemble or install the screws on the valve.
Sealing materials: Such as sealing washers, raw material tapes, etc., to ensure the sealing performance at the connection between the valve and the pipeline.
Vernier calipers or tape measures: Accurately measure the diameter, length and other dimensions of the valve and pipeline to ensure matching.
Sandpaper or file: Polish the interface of the pipeline to remove burrs or rust to make the connection more tight.
Welding machine: It is essential in the installation of welded connection valves.
Hexagon socket wrenches: Suitable for the installation and disassembly of hexagon socket screws.

Hammer: In some cases, it may be necessary to tap the valve lightly to reach the proper installation position.
Level: Ensure that the valve is installed at a horizontal position to avoid tilting.
Lubricants: Reduce the friction between the valve and the pipeline to make the installation smoother.
Marking tools: Such as marking pens, used to mark on the pipeline or valve to determine the installation position.
Cutting tools: Such as pipeline cutters, used to cut the pipeline to fit the size of the valve.
Cleaning tools: Such as wire brushes, cleaning cloths, etc., used to clean the surface of the valve and pipeline.
Leak detection tools: To detect whether there is a leak problem after the installation of the valve.

