
Introduction to the Task
Installing a new radiator valve is common. It may be for a new radiator. It could also replace an old, leaking valve. This task requires careful preparation. It involves basic plumbing skills. Safety and precision are very important.
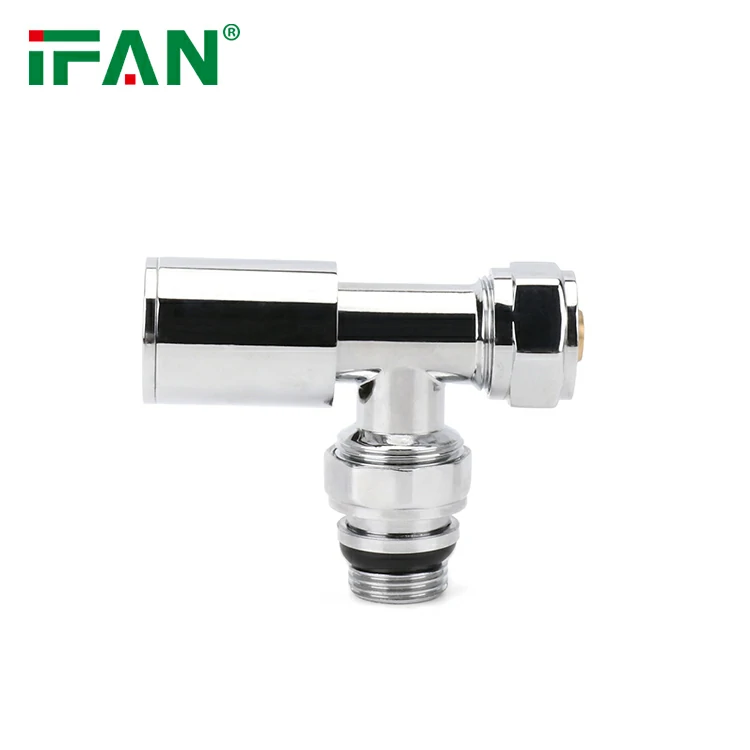
Essential Tools and Materials
Gather all necessary tools first. You will need two adjustable wrenches. A pipe cutter or hacksaw is essential. Have PTFE tape or jointing compound ready. A bucket and old towels are wise. Also have the new radiator valve on hand. Always wear protective gloves.
Safety First: Draining the System
You must drain the heating system first. Locate the main drain-off valve. Connect a hose to this valve. Run the hose to an outside drain or bucket. Open the valve to release water. Ensure pressure is fully released. Open radiator bleed valves to help.
Isolating and Removing the Old Valve
After draining, isolate the radiator. Close any lockshield valves fully. Place your bucket underneath the valve. Use one wrench to hold the radiator tail. Use another to unscrew the old valve body. Be prepared for residual water drips.
Preparing the Pipework
Examine the pipe now exposed. It may need cutting or cleaning. Use a pipe cutter for a clean square cut. Remove any old sealant or corrosion. Ensure the pipe end is smooth. Dry the pipe thoroughly with a rag. Good preparation ensures a good seal.
Applying Sealant to Threads
Wrap PTFE tape on the pipe threads. Wind it clockwise around the threads. Use about eight to ten layers. Alternatively, apply a plumbing joint compound. Cover all threads evenly. This creates a watertight seal. It prevents leaks at the connection point.
Fitting the New Valve Body
Screw the new valve body onto the pipe. Hand-tighten it first for alignment. Then use a wrench for the final turn. Hold the radiator tail steady. Do not over-tighten the connection. A snug fit is sufficient. Over-tightening can damage the threads.
Connecting to the Radiator Tail
The valve connects to the radiator tailpiece. Apply PTFE tape to these threads too. Screw the valve onto the radiator tail. Again, hand-tighten first for alignment. Use a wrench for the final secure fit. Ensure the valve handle is oriented correctly for use.
Refilling and Pressurizing the System
Close all drain and bleed valves. Begin refilling the heating system. Follow your boiler manufacturer’s instructions. Restore system pressure to the correct level. This is usually 1 to 1.5 bar on the gauge. Check for any obvious leaks immediately.
Bleeding the Radiator
Air will be trapped inside. Use a radiator bleed key. Insert it into the bleed valve. Turn it counter-clockwise slightly. You will hear a hiss of air. Close it once water dribbles out. Do this for all radiators in the system.
Testing for Leaks and Function
Inspect all new connections carefully. Look for any signs of water droplets. Operate the new radiator valve fully. Turn it on and off several times. Check that the radiator heats up properly. Monitor the area for several hours after.
Final System Check and Balancing
Your system may need balancing. The radiator with the new valve might heat faster. Adjust the lockshield valve on other radiators. This ensures even heat distribution. Enjoy your updated, efficient heating. Proper installation ensures years of reliable service.