
Introduction
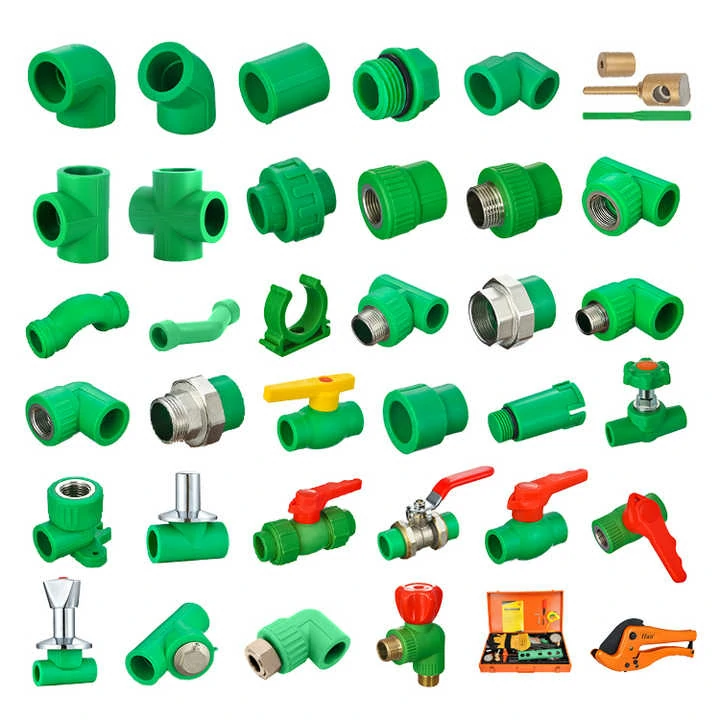
When installing piping systems, one of the key components is the fitting that connects the pipes. Polypropylene random copolymer (PPR) fittings are commonly used in hot and cold water supply systems due to their durability and reliability. In this article, we will explore how a PPR fitting is connected, including the tools and techniques involved.
Preparation Before Connection
Before connecting a PPR fitting, it is essential to prepare the surfaces of both the pipe and the fitting. This involves cleaning the surfaces to remove any dirt, grease, or debris that could compromise the connection. Use a suitable cleaner and primer designed for PPR materials to ensure a strong bond.
Choosing the Right Tools
Connecting a PPR fitting requires specific tools. The most common tool used is a hot-melt tool, also known as a heat gun or soldering iron specifically designed for PPR. Ensure the tool is compatible with PPR materials to avoid damage or improper melting.
Heating the Pipe and Fitting
Once the surfaces are clean and the tools are ready, the next step is to heat the end of the pipe and the socket of the PPR fitting. Apply the heat evenly and consistently until the material begins to soften and melt slightly. Be careful not to overheat, as this can degrade the material.
Inserting the Pipe into the Fitting
Once the pipe and fitting are heated, quickly insert the pipe into the fitting. Push it in firmly until it reaches the stop. The melted material from both the pipe and the fitting will combine, creating a strong and seamless connection. Avoid twisting or bending the pipe during insertion to prevent distortion.
Cooling and Testing
After inserting the pipe into the fitting, allow the connection to cool naturally. This is crucial for the material to set and form a strong bond. Once cooled, the connection should be tested for leaks. Apply pressure to the system and check for any signs of leakage around the fitting.
Additional Considerations
When connecting a PPR fitting, it is important to consider the specific application and environment. For example, in hot water systems, use a PPR fitting rated for high temperatures to avoid failures. Additionally, ensure all connections are made in accordance with local building codes and standards.
Example of a PPR Fitting Connection
To illustrate, consider the installation of a PPR fitting in a residential hot water heating system. The installer first cleans and primes the surfaces of the pipe and fitting. They then use a hot-melt tool to heat the end of the pipe and the socket of the fitting. Once heated, the pipe is quickly inserted into the fitting and allowed to cool. After cooling, the installer tests the connection for leaks by applying pressure to the system.
Conclusion
Connecting a PPR fitting involves careful preparation, the use of the right tools, and precise technique. By following these steps, you can ensure a strong and reliable connection that will withstand the pressures and temperatures of the piping system. Always refer to the manufacturer’s instructions and local building codes to ensure compliance and safety. With the right knowledge and tools, connecting a PPR fitting is a straightforward and effective process.