
Understanding Leak Locations
Leaks occur in two main places. They happen at the stem or the body. Stem leaks are around the handle base. Body leaks are at the threaded connections. Identifying the exact spot is crucial. This determines the proper repair method.
Worn or Damaged Stem Seals
The stem has O-rings or packing washers. These seals wear out over time. Heat and pressure cause them to harden. The stem may also become pitted. This creates a path for water to escape. Replacing these seals often fixes the leak.
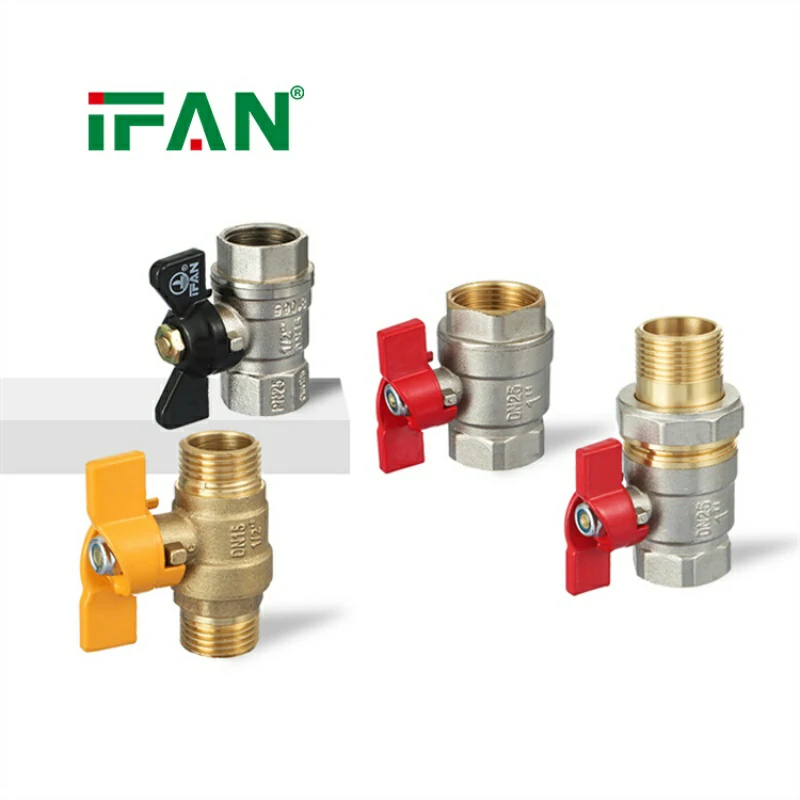
Tightening the Packing Nut
Many brass ball valve designs have a packing nut. This nut compresses the stem seal. If a slight stem weep occurs, try tightening it. Use a wrench and turn clockwise just a little. A quarter-turn is often sufficient. Do not overtighten, as this can bind the stem.
Replacing the Stem Packing
If tightening doesn’t stop the leak, repack it. First, shut off the water and drain the line. Unscrew the packing nut carefully. Remove the old, worn packing or O-ring. Replace it with an identical new part. Reassemble and test for leaks.
Debris Caught in the Valve Seat
Small particles can lodge in the seat. This prevents the ball from sealing fully. The valve may leak even when closed. To fix this, flush the valve. Partially open and close it several times. This often dislodges the debris. If not, disassembly may be needed.
Worn Ball or Seats Over Time
The ball and seats wear with use. Hard water accelerates this erosion. The polished ball surface becomes scratched. The PTFE seats develop grooves. When this happens, the valve cannot seal. Replacement of the entire brass ball valve is usually necessary.
Leaks at Threaded Connections
Threaded connections are common leak points. The leak is at the pipe joint, not the valve body. This is often due to insufficient sealant. It can also be from cross-threading. Unscrew the joint and inspect the threads. Reapply fresh thread tape or pipe dope correctly.
Cracks in the Valve Body
Physical stress can crack the brass. This often results from overtightening. Freezing water can also split the body. A cracked body is a serious failure. It cannot be repaired safely. The entire brass ball valve must be replaced immediately.
Corrosion and Dezincification
Poor quality brass can corrode. Dezincification leaves a porous structure. This weakens the valve body. Small pinhole leaks may develop. Using DZR (Dezincification Resistant) brass prevents this. If corrosion is visible, replacement is the only option.
Handle and Stem Assembly Issues
Sometimes the handle is loose. The stem may turn but the ball doesn’t. This indicates a stripped stem connection. The valve may appear to leak from the top. Tightening the handle nut might help. If the stem is stripped, the valve must be replaced.
Step-by-Step Diagnosis Process
First, identify the leak’s origin. Dry the valve completely with a rag. Watch closely to see where water appears. If it’s from the stem, try the packing nut. If from the body threads, check the sealant. If from a crack, replace it. Accurate diagnosis is essential.
When Replacement Is the Best Option
Some problems cannot be fixed. A cracked body is one example. Severe internal wear is another. Repeated leaks after repairs indicate it’s time. A new brass ball valve is inexpensive. The cost of a leak’s water damage is high. Replacement ensures safety and reliability.